
Magento 2 Push Notifications - PowerPoint PPT Presentation
Title:
Magento 2 Push Notifications
Description:
When it comes to E-commerce, it becomes extremely important to manage customer engagement for driving more attention to customers. The web push notifications are displayed on the web browser to all the users who have subscribed to it. Therefore, Meetanshi has developed the Magento 2 Push Notifications that allows the merchants to send web push notifications. – PowerPoint PPT presentation
Number of Views:2
Title: Magento 2 Push Notifications
1
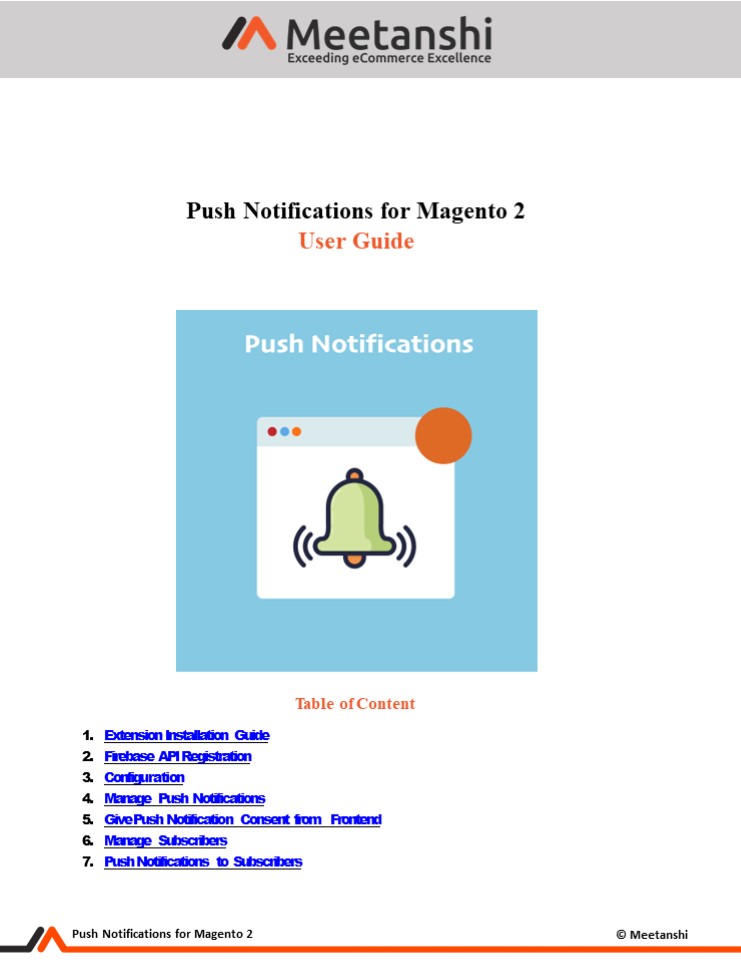
Push Notifications for Magento 2 User Guide
- Table of Content
- Extension Installation Guide
- Firebase API Registration
- Configuration
- Manage Push Notifications
- Give Push Notification Consent from Frontend
- Manage Subscribers
- Push Notifications to Subscribers
2
- Extension Installation
- For Magento Marketplace Customers
- Find the Composer name and version of the
extension in the extensions composer.json file. - Login to your SSH and run
- composer require meetanshi/magento2-push-notificat
ions - Enter your authentication keys. Your public key
is your username your private key is your
password. - Wait for Composer to finish updating your project
dependencies and make sure there arent - any errors.
- To verify that the extension installed properly,
run the command - php bin/magento modulestatus Meetanshi_PushNotifi
cation - By default, the extension is probably disabled.
- Enable the extension and clear static view files
- php bin/magento moduleenable Meetanshi_PushNotifi
cation --clear-static-content - php bin/magento setupupgrade
- For Magento version 2.0.x to 2.1.x - php
bin/magento setupstatic-contentdeploy - For Magento version 2.2.x above - php
bin/magento setupstatic-contentdeploy f - php bin/magento cacheflush
- For Meetanshi Customers
3
- Firebase API Registration
- The extension uses Firebase API to send push
notifications. - To get the Firebase API details, go to
https//console.firebase.google.com/ and click on
Create a Project.
4
- Enter the project name, accept the Firebase terms
and click Continue.
- Enable or disable Google Analytics for the
project and click Continue.
5
- Once the settings are done, you can see the
message, Your New Project is Ready. Click
Continue to view the project details.
- Click on the gear icon and move to the Project
Settings.
6
- In the General tab, under the Your Apps,
click lt/gt to create a new web app.
- Add the app nickname and click Register App.
7
- On registering the app, you can see various web
app details. Copy web API key, auth domain,
database URL, project ID, sender ID, app ID, and
paste it in the Magento 2 push notifications
extension configuration under the respective
fields. Click Continue to Console.
- From the console, move to Cloud Messaging tab
and find the server key, copy it and paste the - same in the Magento 2 push notifications
extension configuration under the respective
field.
8
- Configuration
- For configuring the extension, login to Magento
2, move to Stores ? Configuration ? Meetanshi gt
Push Notifications where you can find various
settings to enable the extension. - Push Notifications Enable the Push Notifications
extension from here. - Web API Key Enter the web API key you got while
registration with the Firebase API. - FCM Auth Domain Enter the Auth domain you got
while registration with the Firebase API. - FCM Database URL Enter the database URL you got
while registration with the Firebase API. - FCM Project ID Enter the project ID you got
while registration with the Firebase API. - Messaging Sender ID Enter the messaging sender
ID you got while registration with the Firebase
API. - FCM App ID Enter the App ID you got while
registration with the Firebase API. - Server Key Enter the server key you got while
registration with the Firebase API.
4. Manage Push Notifications The admin can manage
and add push notification templates from a
separate grid at Push Notifications gt Manage Push
Notifications. Here, all the already added push
notification templates seen enlisted.
9
- Add New Push Notification
- Click Add New Notification button to add new
notification template. Add the details and click
to save the notification template. - Status Enable the push notification template
from here. - Title Enter the title of the new push
notification to show in the notification dialog. - Description Enter the description of the push
notification to show in the notification dialog. - Redirect URL Enter URL where you want users to
get redirected on click of the notification
dialog. - Logo Upload the brand logo to show in the
notification dialog. - Tags Enter the tags to identify and filter the
push notifications.
10
5. Give Push Notification Consent from
Frontend Once the extension is enabled, whenever
the users visit the website, push notification
dialog will open up and ask them to allow or
block notifications. The users have to click the
Allow button to receive web push notifications
from the website.
11
6. Manage Subscribers Immediately after the users
have subscribed to receive the push
notifications, a backend grid at Push
Notifications gt Manage Subscribers list them with
the details like name of the subscribers, browser
from which they have subscribed, and time and
date of the subscription. The admin can multi
select subscribers, select the mass action Send
Notification and select one of the notification
templates to send push notifications to the
selected subscribers. The admin can also delete
the subscriber from here.
7. Push Notifications to Subscribers Once the
admin sends push notification to the subscribers,
they immediately receive the push notification
having the details like title, description, logo
and redirect URL. Users can click the
notification to get redirected to the URL
specified from the backend.
Recommended
CrystalGraphics Presentations


