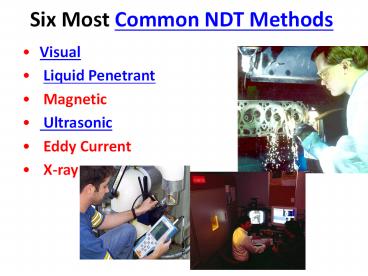
Six Most Common NDT Methods PowerPoint PPT Presentation
Title: Six Most Common NDT Methods
1
Six Most Common NDT Methods
- Visual
- Liquid Penetrant
- Magnetic
- Ultrasonic
- Eddy Current
- X-ray
2
Visual Inspection
- Most basic and common inspection method.
- Tools include fiberscopes, borescopes, magnifying
glasses and mirrors. - Portable video inspection unit with zoom allows
inspection of large tanks and vessels, railroad
tank cars, sewer lines. - Robotic crawlers permit observation in hazardous
or tight areas, such as air ducts, reactors,
pipelines.
3
Liquid Penetrant Inspection
- A liquid with high surface wetting
characteristics is applied to the surface of the
part and allowed time to seep into surface
breaking defects. - The excess liquid is removed from the surface of
the part. - A developer (powder) is applied to pull the
trapped penetrant out the defect and spread it on
the surface where it can be seen. - Visual inspection is the final step in the
process. The penetrant used is often loaded with
a fluorescent dye and the inspection is done
under UV light to increase test sensitivity.
4
Magnetic Particle Inspection
- The part is magnetized. Finely milled iron
particles coated with a dye pigment are then
applied to the specimen. These particles are
attracted to magnetic flux leakage fields and
will cluster to form an indication directly over
the discontinuity. This indication can be
visually detected under proper lighting
conditions.
5
Magnetic Particle Crack Indications
6
Ultrasonic Imaging
High resolution images can be produced by
plotting signal strength or time-of-flight using
a computer-controlled scanning system.
Gray scale image produced using the sound
reflected from the front surface of the coin
Gray scale image produced using the sound
reflected from the back surface of the coin
(inspected from heads side)
7
Ultrasonic Inspection (Pulse-Echo)
High frequency sound waves are introduced into a
material and they are reflected back from
surfaces or flaws. Reflected sound energy is
displayed versus time, and inspector can
visualize a cross section of the specimen showing
the depth of features that reflect sound.
f
initial pulse
back surface echo
crack echo
crack
plate
Oscilloscope, or flaw detector screen
8
Eddy Current Testing
Coil
Conductive material
9
Eddy Current Testing
- Eddy current testing is particularly well
suited for detecting surface cracks but can also
be used to make electrical conductivity and
coating thickness measurements. Here a small
surface probe is scanned over the part surface in
an attempt to detect a crack.
10
For More Information on NDT
Ndt India http//www.ndtindia.org BA-15,
Mangolpuri Industrial Area, Phase-2,New Delhi,
India-110034Phone 09560222333Fax
91-11-43852040 Email info_at_sigmatest.org

