
How to Record Audio With AirPods PowerPoint PPT Presentation
Title: How to Record Audio With AirPods
1
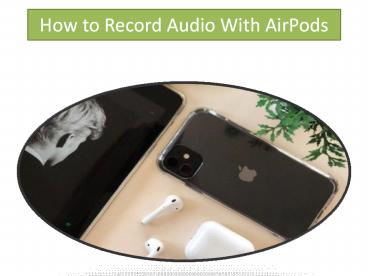
How to Record Audio With AirPods
2
How to Record Audio With AirPods
- Apple AirPod is one of the devices that can work
with all Apple devices like talk with Apple
assistance Siri, listen to music, make a call and
perform a lot more activities. It is convenient
for the user and also powerful earbuds that also
has a microphone. - With the use of AirPod micro, you can record
audio when your iPhone or any Apple device camera
is on because AirPod isnt like a complete sound
recorder.
3
1) Replying Messages
- One simple and easy way to record your voice call
is by switching into text with a voice assistant.
If you cannot type at that moment, then Siri will
read your message and convert it into text, so
that you can reply with Siri. - One thing that you need to start your response is
reply. Before Siri sends your message, it will
repeat your message and ask for confirmation. You
can also disable confirmation features, but if
you enable this feature, it will help you
double-check your message. - Here are the steps on how to access AirPod with
Bluetooth - Start the AirPod cover and allow your iPhone to
access AirPod settings. - Launch the Settings application on your iPhone
and choose Bluetooth. - Search your AirPod in the list on your iPhone and
tap on the blue icon, as shown (i). - Scroll down and search the Microphone option and
select settings that you need. - The Microphone settings should be set as
Automatic.
4
2) Live Listening
- You can listen to what is happening near your
iPhone when you have enabled the microphone. Here
are the steps on how to listen to the sound
around the iPhone - Launch Settings on your iPhone.
- Choose Control Center.
- Hit on Customize control to find more options.
- Scroll down to search for hearing.
- Hit the circle logo that appears on the left that
goes green. - Hit back that appears on the top of your device
corner. - Here you can add live listen to features to your
control center. - Go back and again tap on the Control center and
hit the Ear logo. - Choose Live Listen.
5
3) Voice Memos
- Downloading Voice Memos application permits you
to record audio and listen to your AirPod. Here
are the steps on how you can do this - Download and install the Voice Memo application
on your iPhone or iPad. - Ask Siri to start the application or start by
itself. - Hit on the red circle to launch the recording.
- After completing, tap the red square to end the
recording.
6
- 4) How to Edit Voice Memo
- Here are the steps on how to edit voice memo
- Choose one that you wish to edit.
- Tap the three-dot option to start a menu where
you can choose the Edit recording option. - Place blue playhead where you wish to edit the
portion to start. - Hit replace to record with a new message over the
especial one. - Hit pause icon when you complete and choose Done
to save your memo. - 5) Delete Parts of Voice Memo
- Here are the steps on how to delete the parts of
the voice memo - Start the one voice memo that you want to delete
a part from. - Hit the three-dot logo and then tap on Edit
recording. - Hit the little blue square and use the yellow
handle to mark the portion that you wish to
delete. - Select Delete and the Save, after tapping done
all the save changes. - 6) Share Voice Memo
- You can listen to the voice memo with your AirPod
still when your AirPod connected with the iPhone.
If you wish to share your voice memo, then here
are the steps on how to share voice memo - Choose the memo that you want to share.
- Hit the three-dot option and then tap share.
- Choose the application or contact where you wish
to share your voice memo. - 7) Delete Voice Memo
7
AUTHOR BIO
- Eva Winget, an employee currently living in USA
and working at a top printer service provider
company in the day, and a technical writer at
night. I am passionate about writing
troubleshooting tips, beginners guides, news and
other articles on varied topics like hp printer
support, lemark printer support, hp printer
support etc. - ORIGIN https//expressdirectory.uk.com/blog/how-t
o-record-audio-with-airpods/
Recommended
